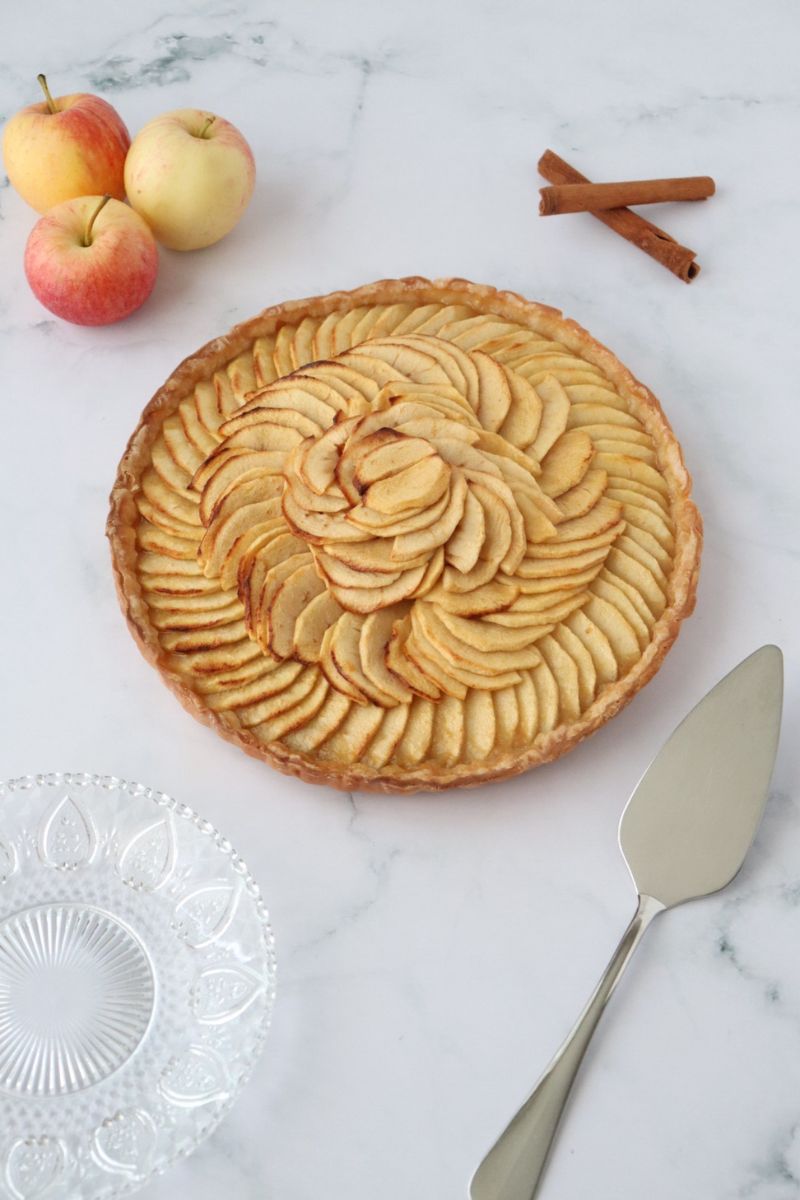
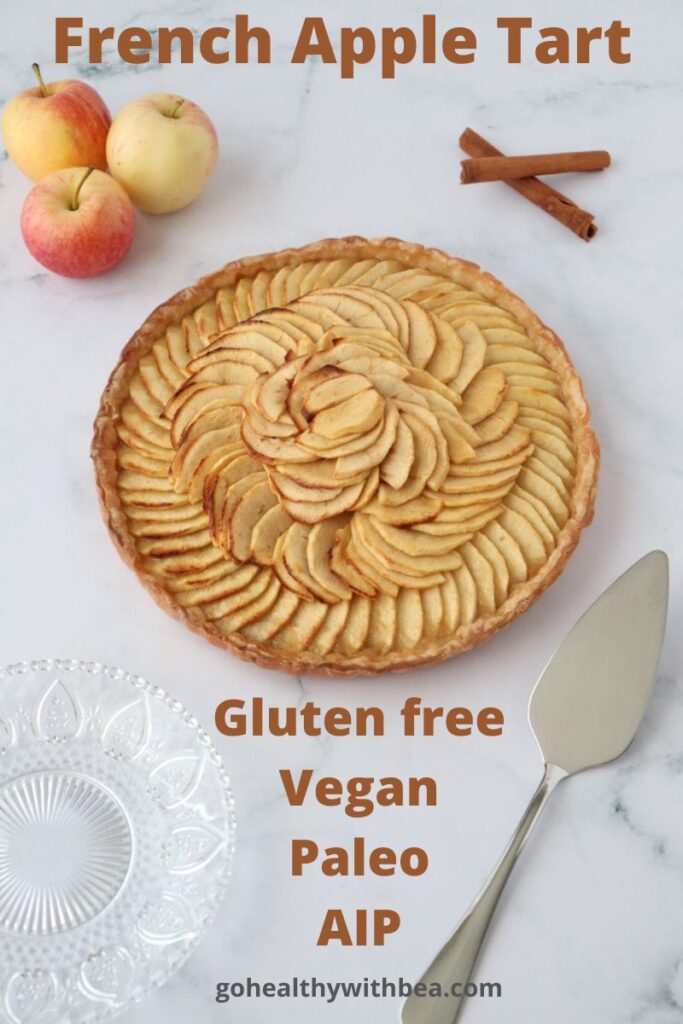
Learn how to make from scratch a Gluten Free French Apple Tart. This homemade apple tart is a delicious classic autumn dessert. Made with freshly sliced apples and apple sauce, this tart is the perfect gluten free apple dessert.
Jump To / Aller directement à
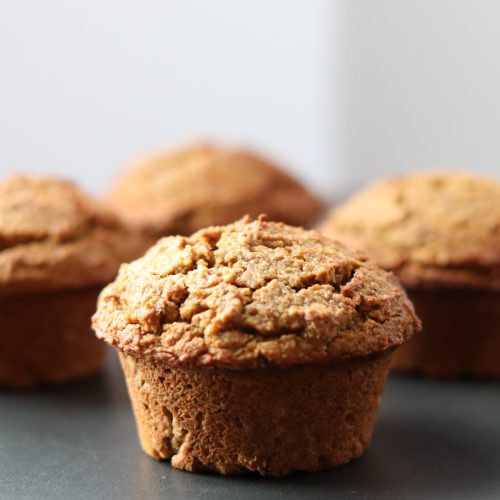
Apples are definitely one of my favorite fruits. I love how versatile they are. You can use them in any kind of dishes. Like in my French Endive Apple Walnut Salad or my Vegan Fall Salad With Butternut Squash or my Apple Cinnamon Muffins (gluten free, paleo, AIP).
⭐ Why you'll love this recipe
- This gluten free French apple tart is easy to make.
- Just a few simple ingredients.
- I walk you through each step.
- This elegant apple tart is a classic French dessert.
- This recipe is gluten free and vegan and can be made AIP and paleo if you make it with a compliant pie crust.
📖 Ingredient notes
- Puff pastry or pie crust. I'm using store bought gluten free puff pastry because yes, sometimes it's nice to have part of the work done for you. You can also use regular puff pastry if you're not gluten free or a sweet pie crust. If you are AIP or paleo, you can use my AIP pie crust recipe which is AIP and paleo compliant.
- Apples. I recommend using sweet apples like Fuji, Royal Gala or Golden Delicious apples
- Apple sauce. Make sure to use apple sauce that doesn't contain any added sugar nor any other additives. You can either use homemade or store bought apple sauce if you are apple to find non added sugar and additive free apple sauce.
- Ground cinnamon. It will add a nice flavor to your tart. If you prefer, you can use vanilla.
- Maple syrup. This ingredient is optional. It adds a nice maple flavor and a little bit of glow to your apple tart. If you choose to use it, make sure to use pure maple syrup.
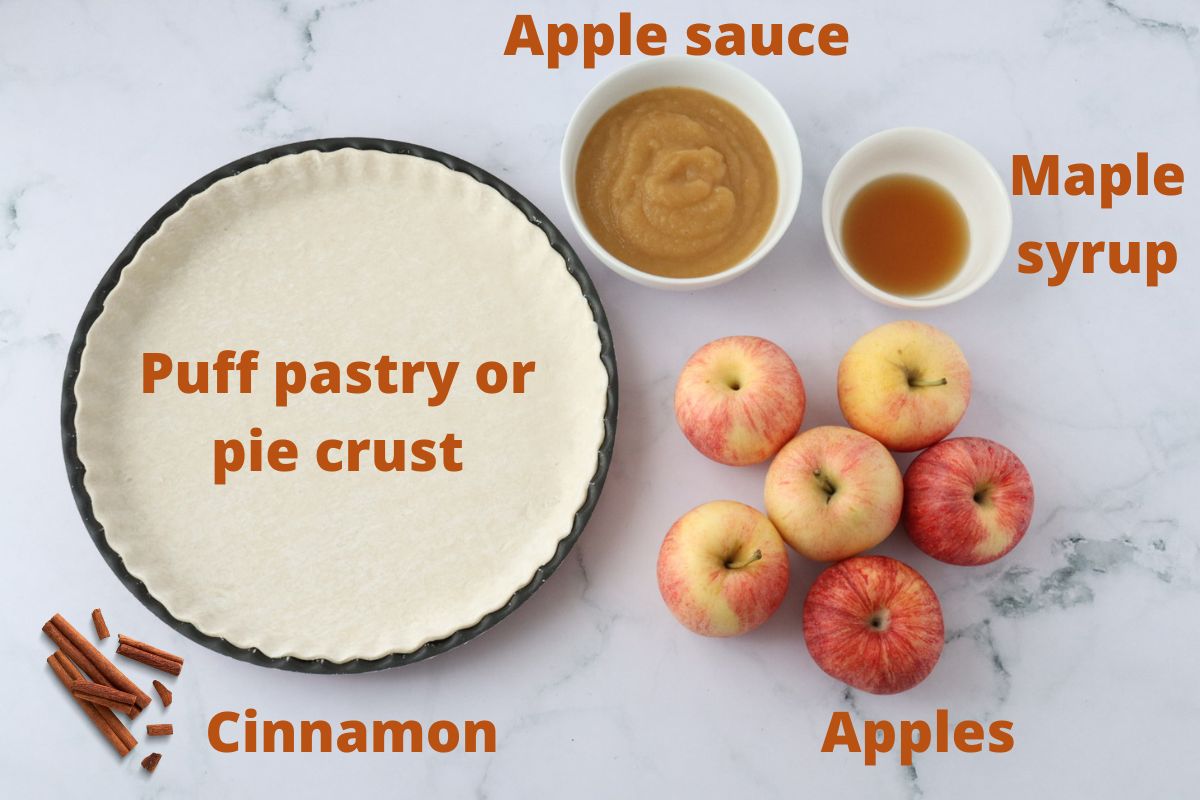
For the ingredient quantities for this gluten free apple tart, please see the recipe card below.
🔪 Step by step instructions
- Roll out the puff pastry or pie crust. Transfer to a 27 cm / 10.6 inch pie pan lined with parchment paper. Prick the pie crust or puff pastry with a fork to prevent it from inflating.
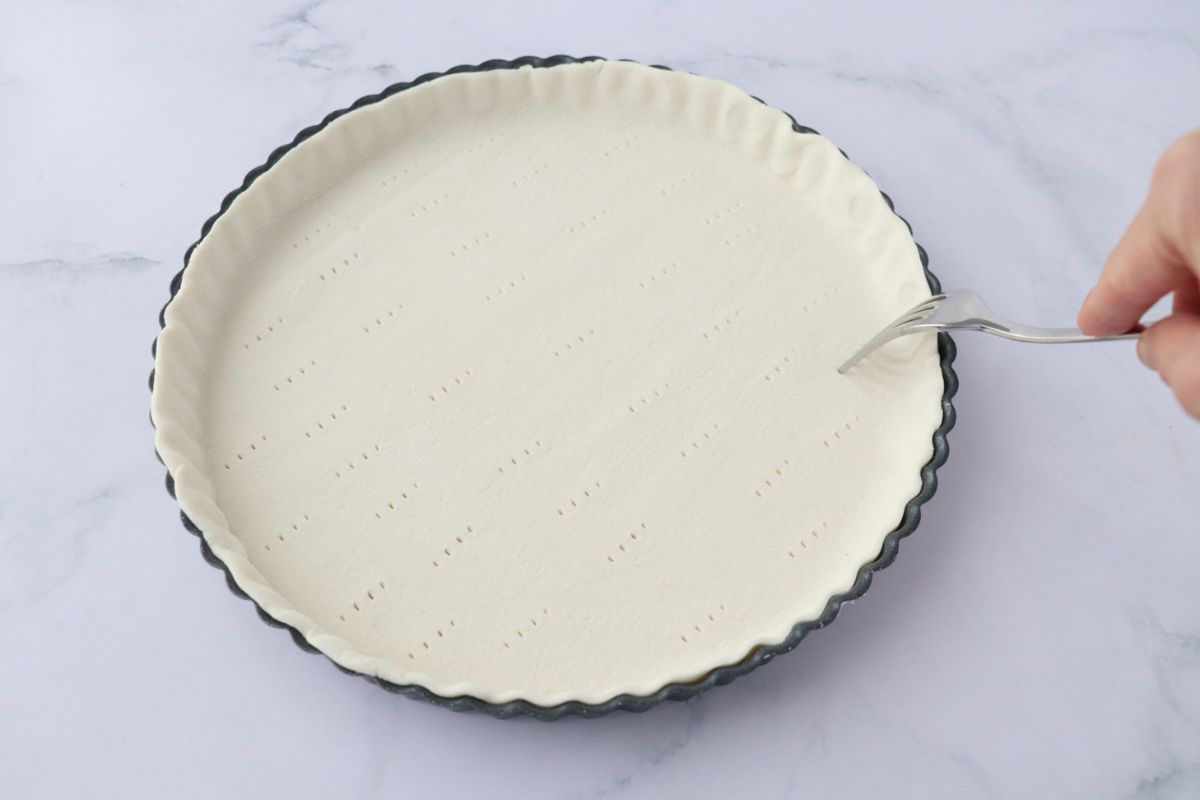
- Then put it for 10 minutes in the oven to precook it.
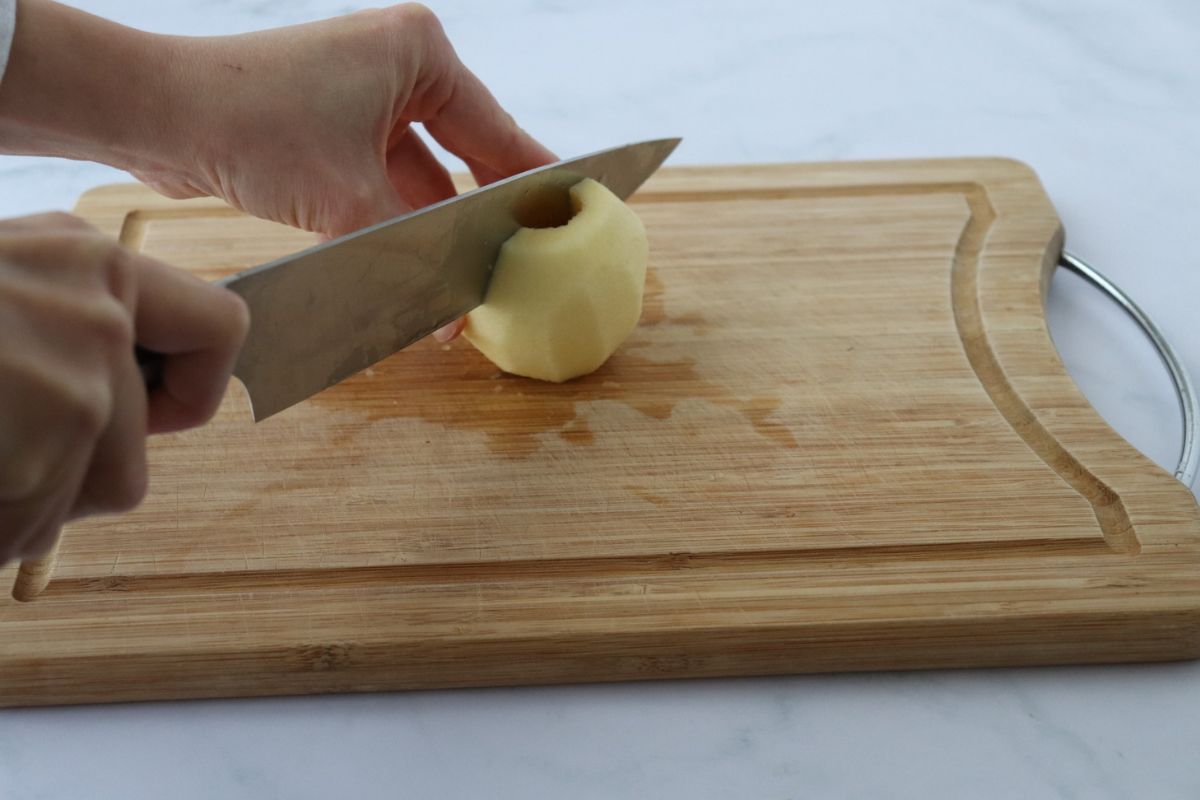
- In the meantime, peel and core the apples with an apple corer.
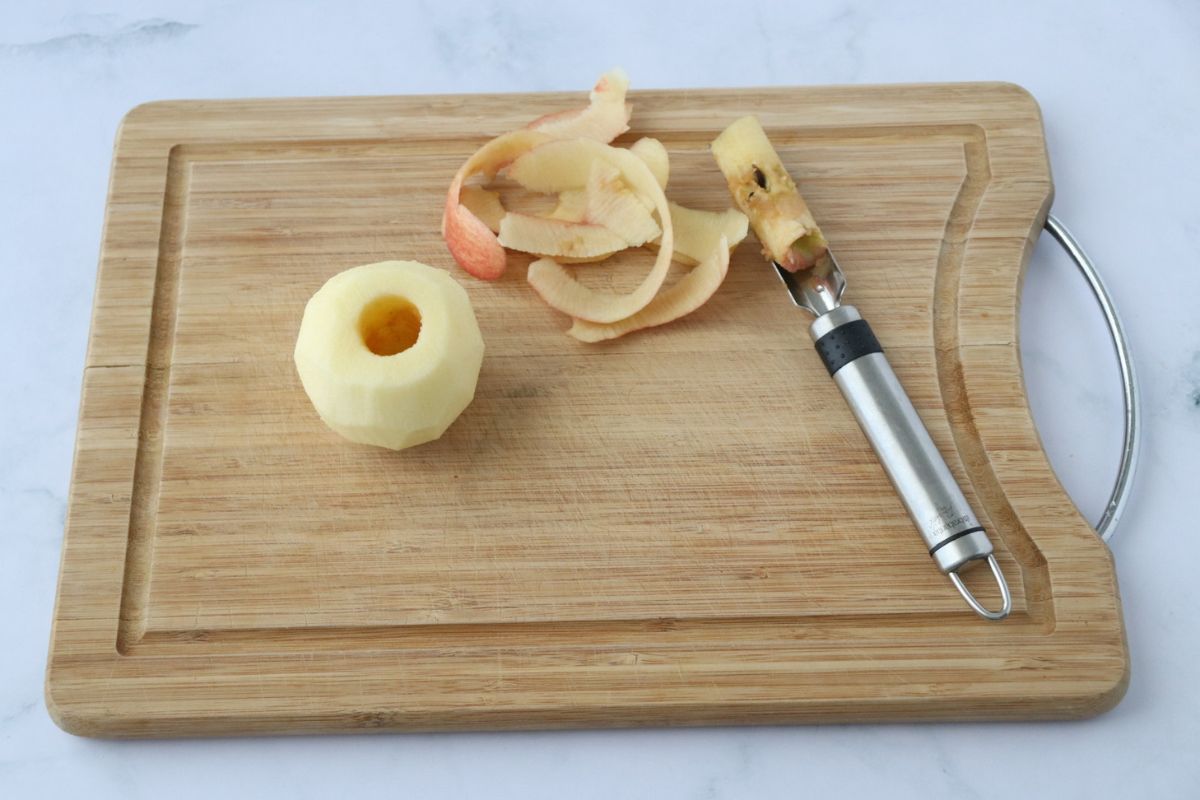
- Then cut the apples lengthwise in 2 halves.
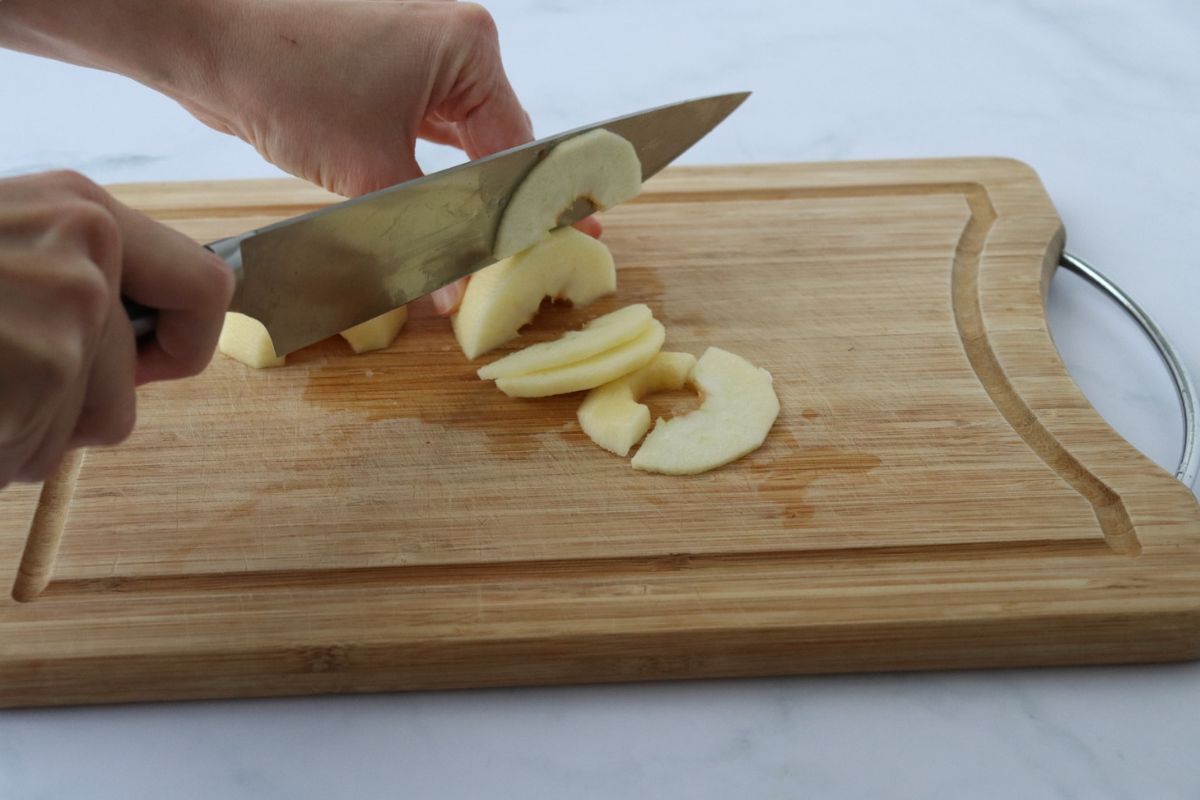
- Then thinly slice crosswise each half apple.
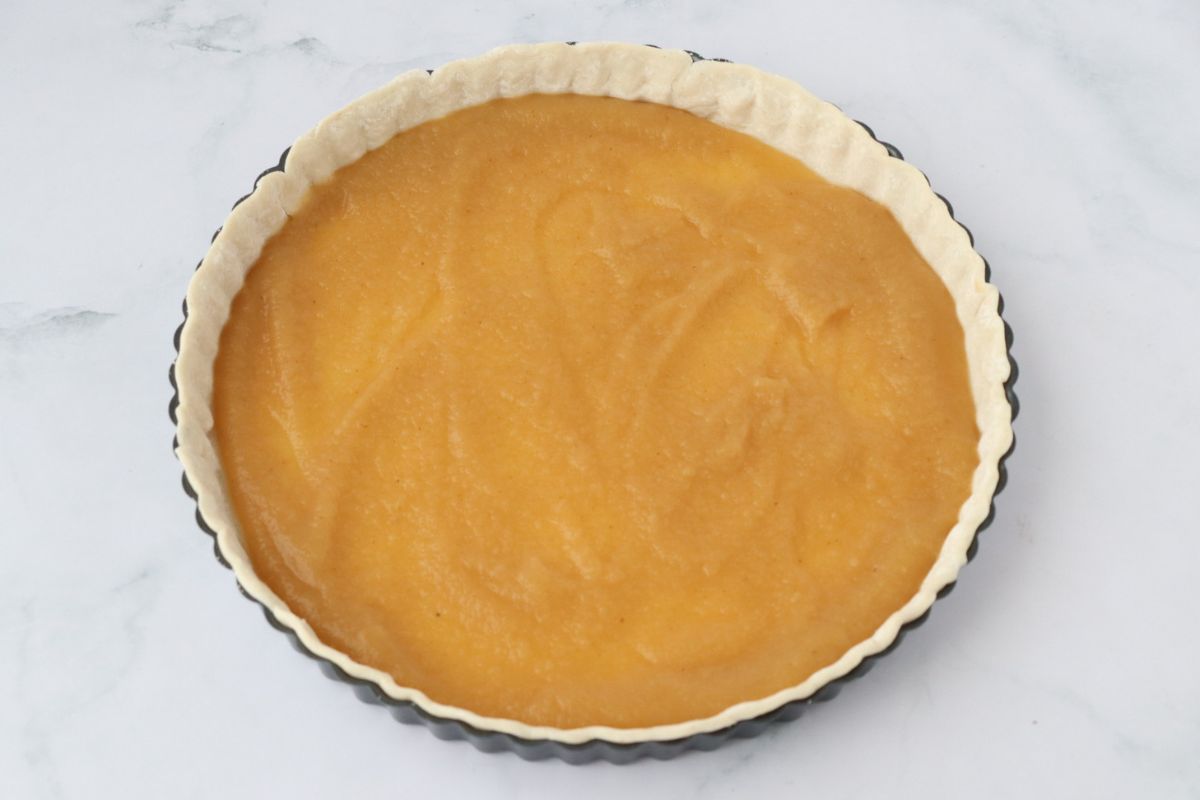
- Add a pinch of cinnamon to your apple sauce. Then spread the apple sauce evenly over the precooked pie crust.
- Place the apple slices on top of the apple sauce, starting from the outside and working in.
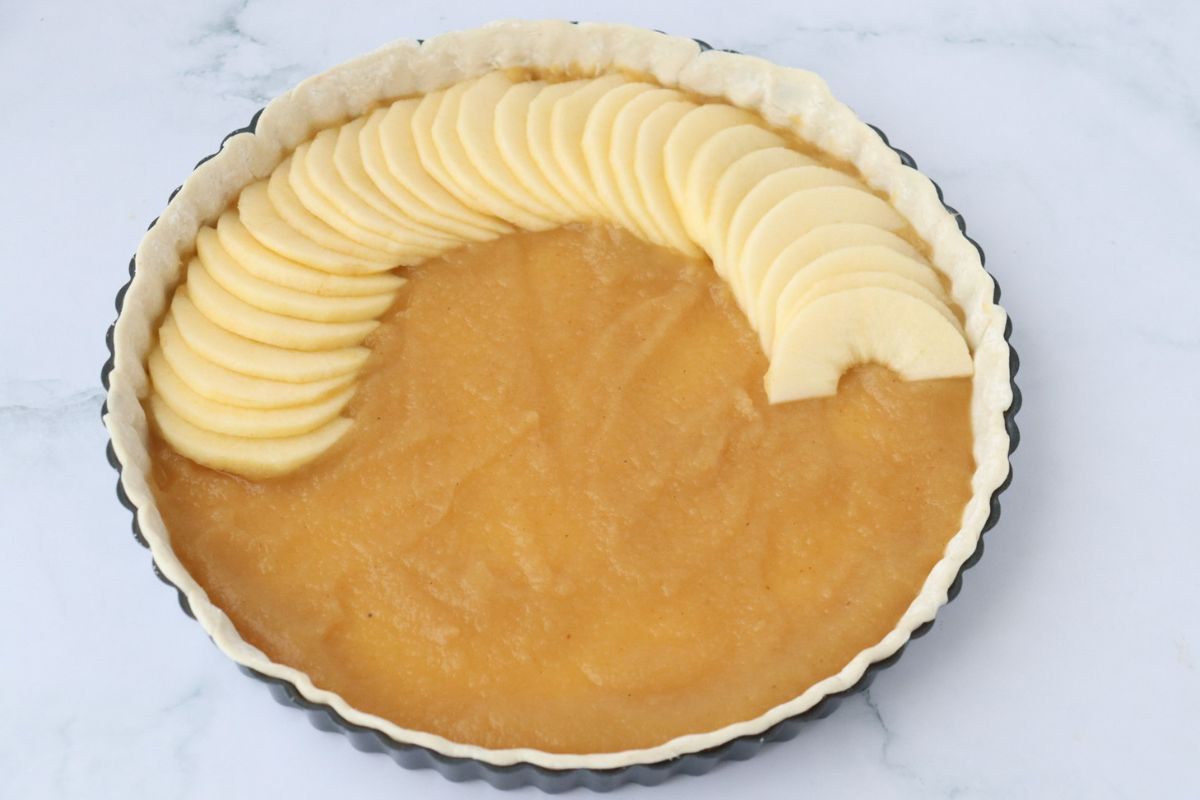
- Once you have placed a full row of apple slices on the exterior, place some apple pieces in the middle in order to level up the center for the second row.
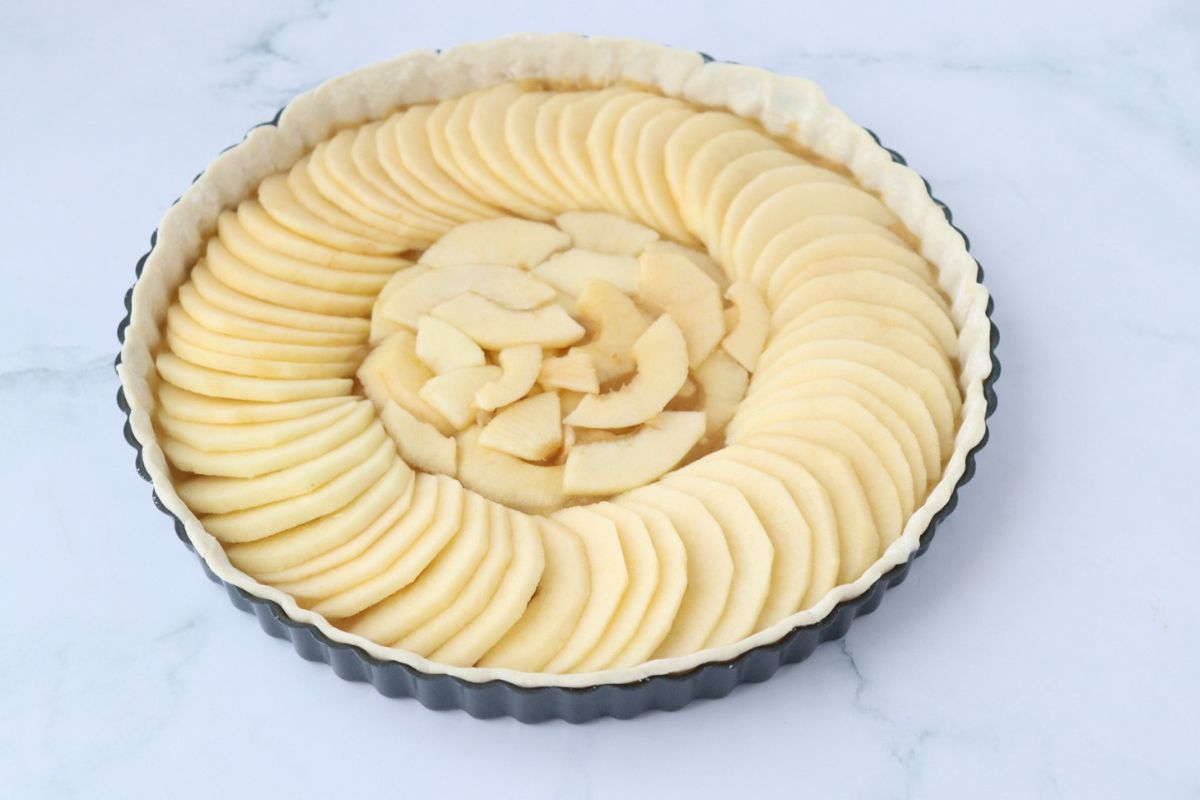
- Repeat the same arrangement for the second row of apples.
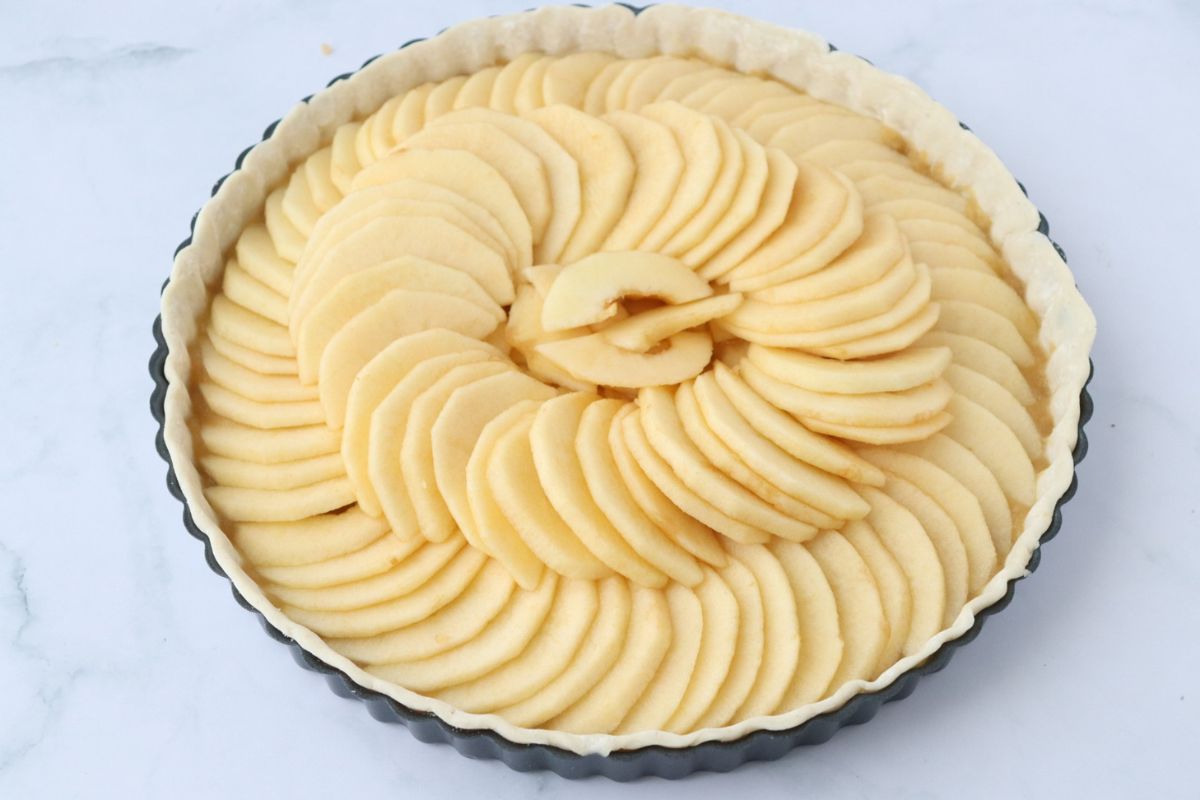
- Again repeat the same process until you reach the center. As you move toward the center, the apples will become trickier to arrange. Arrange the last few slices into a circle as beautifully as you can.
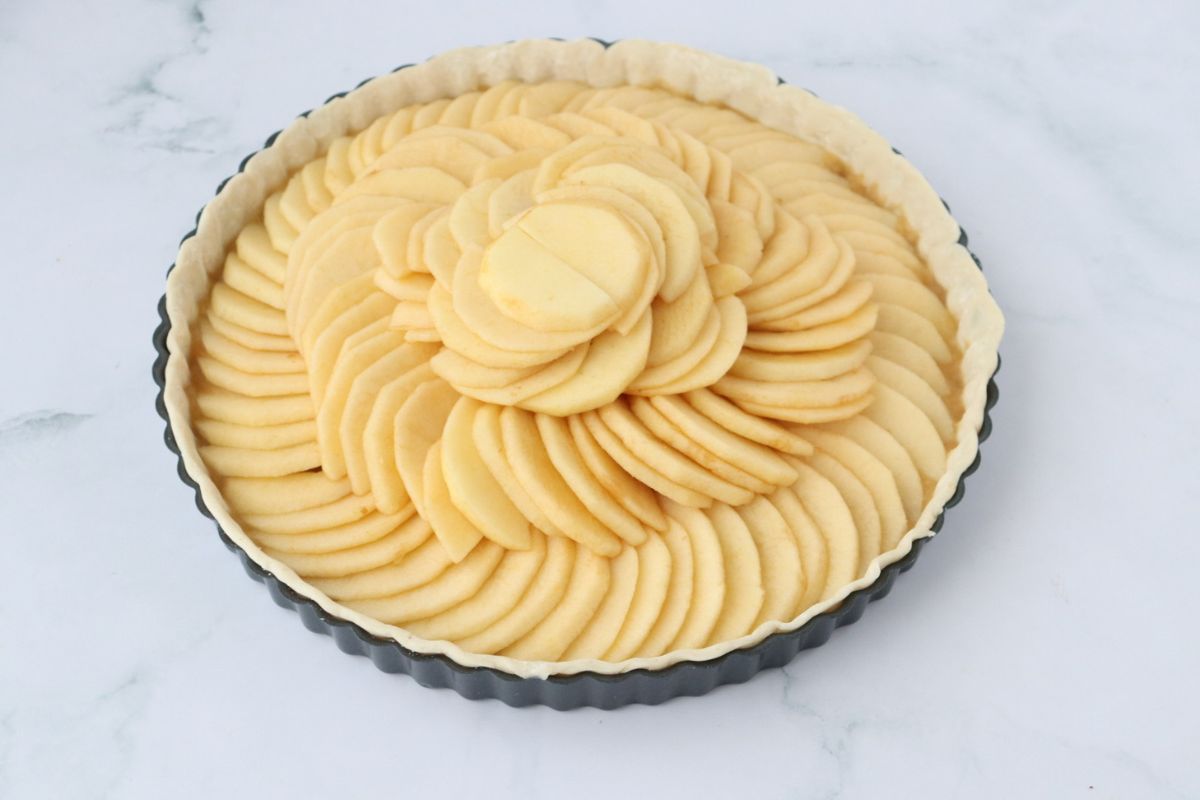
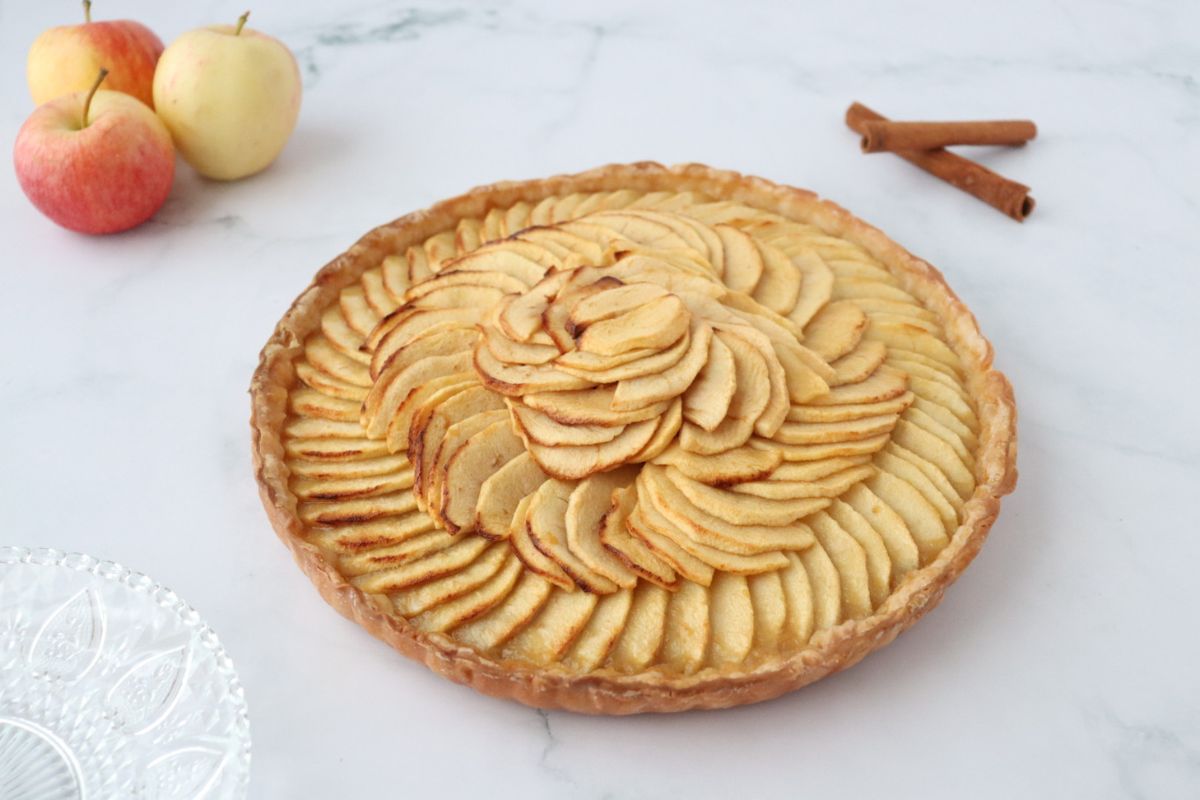
- Put the pie in the oven for 35 minutes or until it gets a nice golden color. Before serving, brush a little bit of maple syrup on top of your apple tart to give it a nice glow and maple flavor.

- And voilà! Let your gluten free apple tart cool and serve. Bon appétit!
👩🏻🍳Top tips
- The apples should overlap each other. Use the largest slices on the outside and use the smallest slices in the middle of the tart.
- To make this tart even more beautiful, arrange the first row of apple slices clockwise. And go counter-clockwise for the second row. Then, change again for the next row.
- The apples will shrink when you bake them. So arrange them as closely as possible. And do not hesitate to squeeze in some pieces here and there to make sure you don't end up with an empty spot.
🍪 Other fall recipes you might like
Did you like this recipe? Please leave a 5-star rating 🌟🌟🌟🌟🌟 on the recipe card and leave a nice review below! Tag @gohealthywithbea on Instagram and hashtag #gohealthywithbea! Also, let's stay connected on social media and continue to cook together! You can find me on Instagram, Facebook and Pinterest.
📋 Recipe / Recette
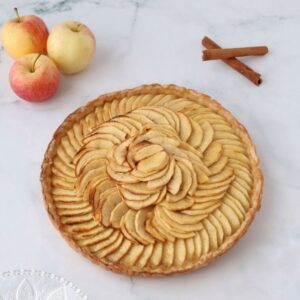
Gluten Free French Apple Tart
Ingredients
- 1 store bought (gluten free) puff pastry or if you are AIP or paleo use my homemade AIP pie crust recipe
- 2.2 pounds apples about 6 large apples (1 kg)
- 300 grams (1 cup) non added sugar apple sauce
- Pinch of ground cinnamon
- 2 Tablespoons maple syrup (optional)
Instructions
- Preheat oven to 360°F (180°C)
- Roll out the puff pastry or pie crust. Transfer to a 27 cm (10.6 inch) metal pie pan lined with parchment paper. Prick the pie crust or puff pastry with a fork to prevent it from inflating.
- Then put it for 10 minutes in the oven to precook it.
- In the meantime, peel and core the apples with an apple corer.
- Then cut the apples lengthwise in 2 halves.
- Then thinly slice crosswise each half apple.
- Add a pinch of cinnamon to your apple sauce. Then spread the apple sauce evenly over the precooked pie crust.
- Place the apple slices on top of the apple sauce, starting from the outside and working in.
- Once you have placed a full row of apple slices on the exterior, place some apple pieces in the middle in order to level up the center for the second row.
- Repeat the same arrangement for the second row of apples.
- Again repeat the same process until you reach the center. As you move toward the center, the apples will become trickier to arrange. Arrange the last few slices into a circle as beautifully as you can.
- Put the pie in the oven for 35 minutes or until it gets a nice golden color. Before serving, brush a little bit of maple syrup on top of your apple tart to give it a nice glow and maple flavor. And voilà! Let it cool and serve.Bon appétit !
Notes
- The apples should overlap each other. Use the largest slices on the outside and use the smallest slices in the middle of the tart.
- To make this tart even more beautiful, arrange the first row of apple slices clockwise. And go counter-clockwise for the second row. Then, change again for the next row.
- The apples will shrink when you bake them. So arrange them as closely as possible. And do not hesitate to squeeze in some pieces here and there to make sure you don't end up with an empty spot.
- Although I spend quite a lot of time converting all my recipes to cups (yes, manually, in my kitchen!) I highly recommend using a scale and measuring for weight rather than using cups. The reason for this is, apart from the whole debate on accuracy, the density of certain gluten free flours and starches differ a lot from one brand to another. Also keep in mind that all cups are not the same size all around the world which makes another good reason to use a scale so you won’t get this issue.
- Please keep in mind that the nutritional information is calculated using a nutrition facts calculator. It is a rough estimate and can vary greatly based on products used.







Sofya
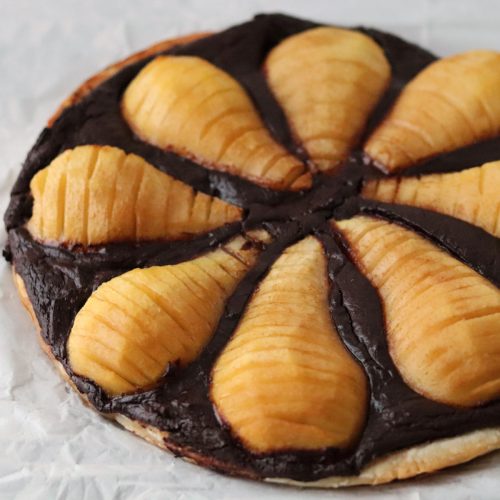
I made this pie with pears and a different brand of tigernut flour other than that to the letter. Not sure what went went wrong, but the crust was cement hard and dry. I did like the filling though.
Alisa
I followed your recipe just fine for the pie crust until I got the water measurement. That filled me up. You forgot to do the conversion from ml. to cups. I currently have a pumpkin pie in the oven oven after baking the crust first.
Also I am wondering what would happen if I choose to put crust on top of the apple tart. I’ll let you know.
Steven Hoyer
Great recipe! Thanks!!
Johnnie
whoah this blog is excellent i like your recipes. You already know, many persons are looking round for amazing recipes, you can help them greatly.
Jessica
Hi Bea,
In your instructions for transferring to the pie tin, you have it read, "...transfer the dough to a 27cm/10.6in diameter pie tin on the other parchment paper." Does that mean I am putting the parchment paper in the pie tin with the dough on top, or am I turning the dough into the tin and then removing the parchment so the dough is touching the pie tin? I hope I am asking the correctly, thank you in advance!
gohealthywithbea
Bonjour Jessica. Thanks for your question: it just made me realized that there was a missing step picture. I will fix that right away! On this picture you could have seen (if it was there!!! 😬 so sorry about that by the way!) that you are putting the parchment paper in the pie tin with the dough on top. That's why you don't need to grease the tin.